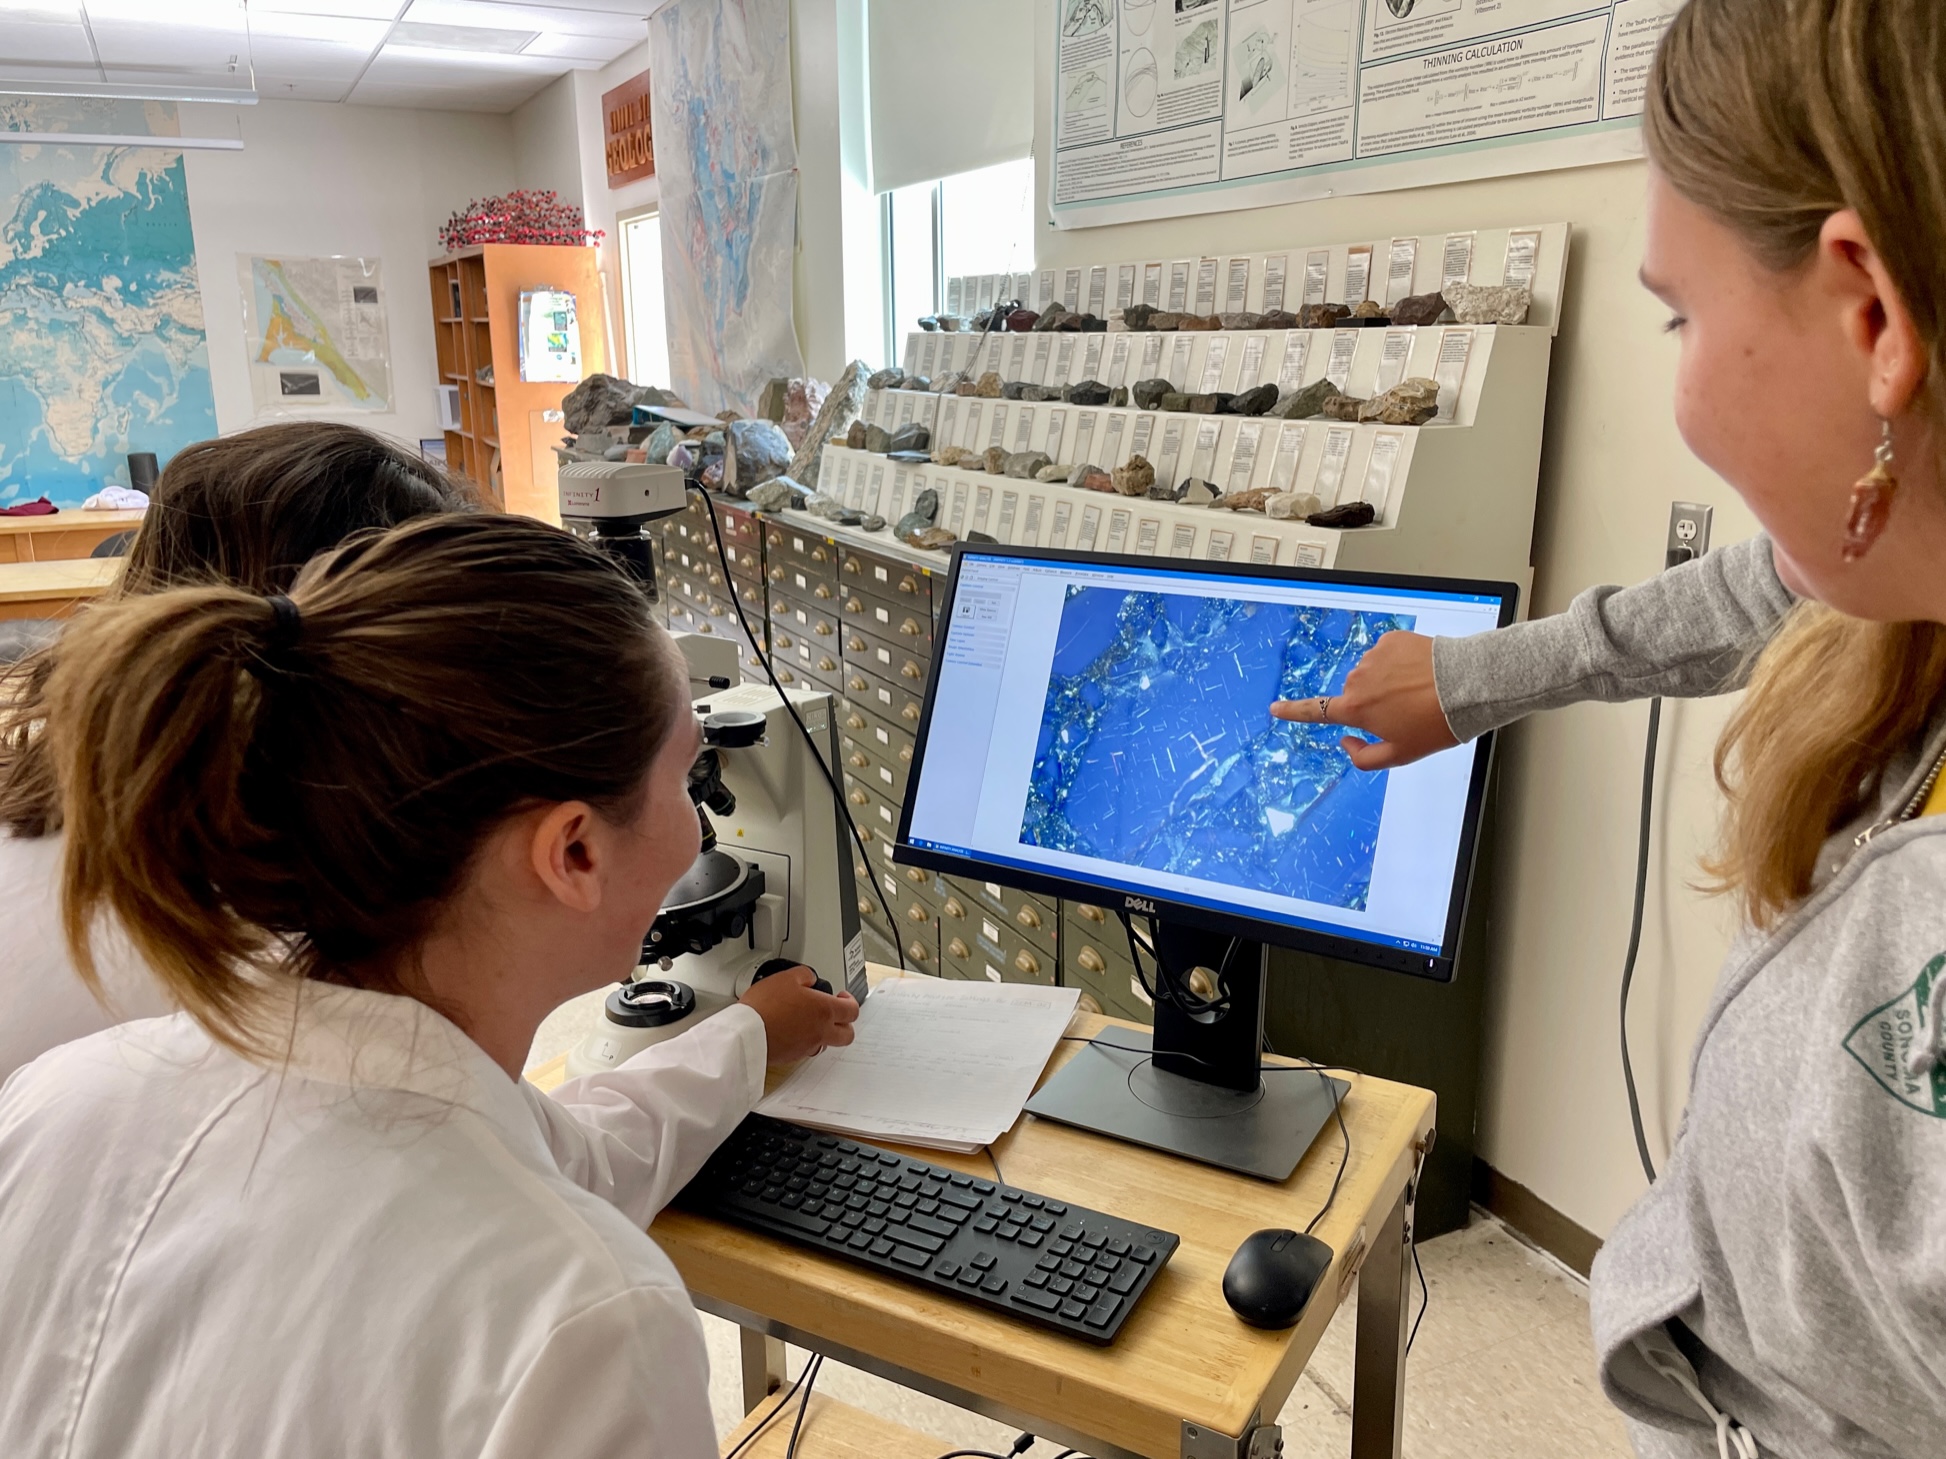
Guide for Lumenera Infinity 1 Camera
By Phil Mooney 3/12/2018This camera is located in Darwin 128 and often used for teaching.
(1) Turn on microscope and focus your slide: Start using the light (PPL or XPL) in which you plan on taking your picture.
(2) Turn on the camera: select the “Infinity Analyze Icon” (Bright Orange, on desktop). Opening this icon turns on the camera.
(3) Expand the image frame to fit the entire screen: then in the “View” menu at the top, make sure fit to frame/screen is selected.
(4) Control Panel: Make sure that the Control Panel is present on the left-hand side of the screen. If the Control Panel is not present, do the following:
F “View”
F “Toolbars”
F “Aux Window”
F “Control Panel”
(5) Optimizing Image: Make the following adjustments, that will set you on your way to taking a high-quality, calibrated picture. The general work flow moves from top to bottom of the Control Panel window.
(5.1) In the Capture section of the Control Panel (top of the control panel), set magnification to the appropriate value.
(5.2) In the Capture section of the Control Panel, move your slide to an area of epoxy or glass, where no thin section material is present; Click the White Balance button to calibrate the “hue” of white for your slide.
(5.3) Move your slide back to your thin section and adjust the exposure up or down to decrease or increase the “brightness of your sample.” Note that your objective here is to get an image with reasonable contrast. This step will not produce the final image.
(5.4) In “Light Source,” select the light source which best optimizes your field of view to what you see in the microscope. Note that the light source refers to lights in the room, however, we note that options other than fluorescent produce a better image.
(5.5) Adjust the hue and saturation to make the image on the screen look like what is observed in the microscope. This process maybe iterative.
(6) Add a scale bar: (only works if you have selected the right magnification; e.g., 5.1)
F “Annotate”
F “Micrometer” (Brings up a window to set your scale)
(6.1) In the micrometer window, set distance the length of your scale bar (e.g., 1000µm)
(6.2) Once the length is set, drag the scale bar into position.
(6.3) Right click to scale bar to format it to your specifications (e.g., line size, color, etc.)
(7) To collect an image: scroll back up in the Control Panel and click capture to collect your image. The directory to which the file is saved appears in the top of the window with your saved image. To save it elsewhere, proceed using standard “Save As” commands.


